HOW TO SET UP YOUR SLATS
THE CLOUD LIFT POT RACK
comes with 7 regular and 2 wide slats.
Every slat is secured with 1 screw in each end.
The wide slats have 2 holes drilled in each end but
you will only use 1 screw per end. You’ll soon see why.
THE NARROW SLATS can be adjusted in 5/8″ increments and
THE WIDE SLATS in 1/4″ increments allowing you to
fine tune the spacing of your slats.
The holes drilled in the adjustment rails
are the key to slat spacing.
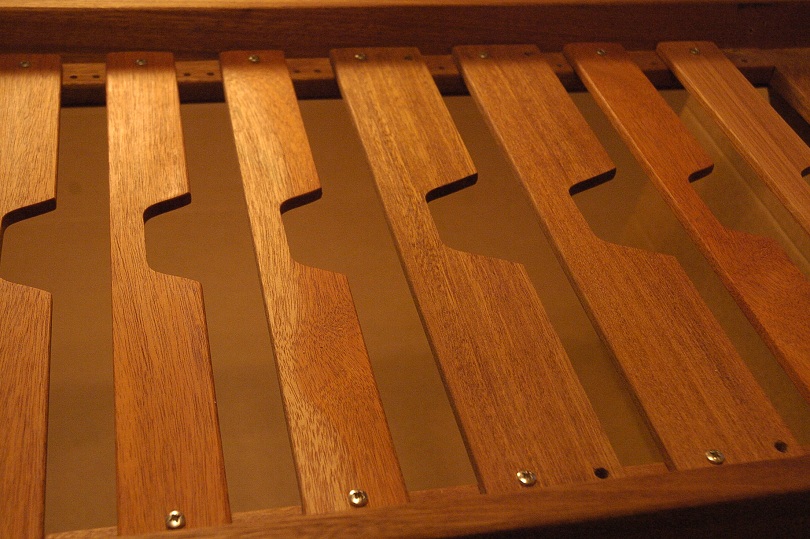
Look at the spacing in the photo below.

The small stainless lid is leaning over too far-it could bump into the clear lid.
. That’s because the slats are too far apart.
Also the slats on either side of the clear lid are
too close together.- I had to force the lid in.
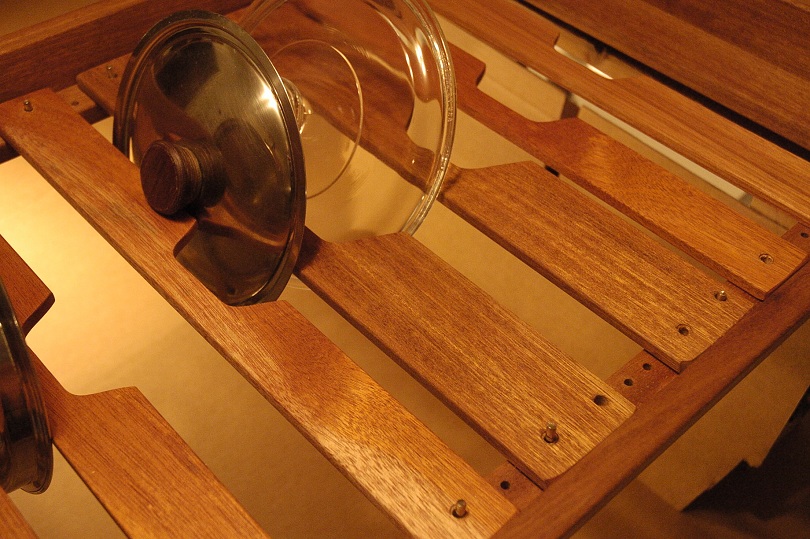
IT’S EASY TO CHANGE THE SPACING BETWEEN THE SLATS.
First remove all the screws holding the slats
and grab a handful of steel pins.
Now you can re-arrange the slats to fit your lids and temporarily secure
the spacing by putting a pin in the ends of each slat.
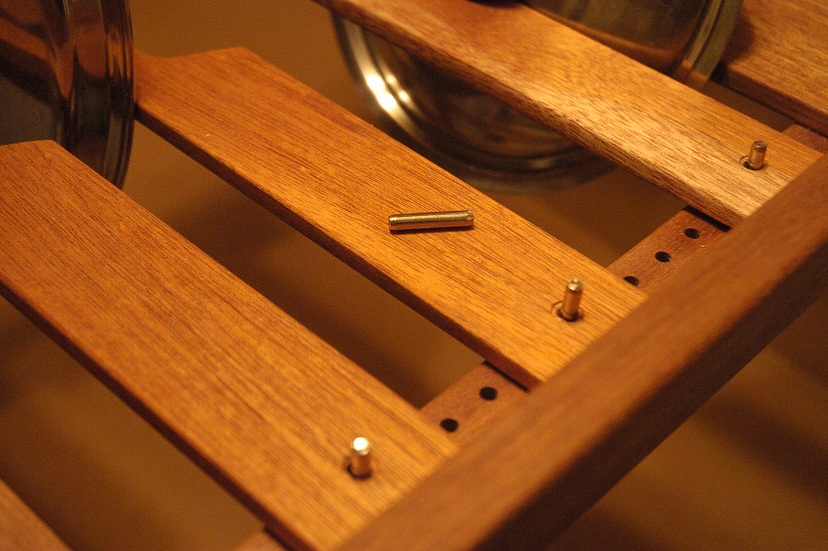
Scroll back up 2 photos and take a look at the slats
on either side of the small stainless lid.
There are 2 holes in the adjustment rails between the slats.
Now move the slat on the left 1 hole to the
right and insert the pins in both ends.
Now you can see there’s only 1 hole
between the slats- the gap is 5/8″ smaller.

NOW FOR THE CLEAR LID
Look at the wide slat to the right of the clear lid.
The pin is in the hole on the right.
We need to widen the gap between the slats- but not too much.
If you remove the pins in this slat, then slide the slat over to the right.
.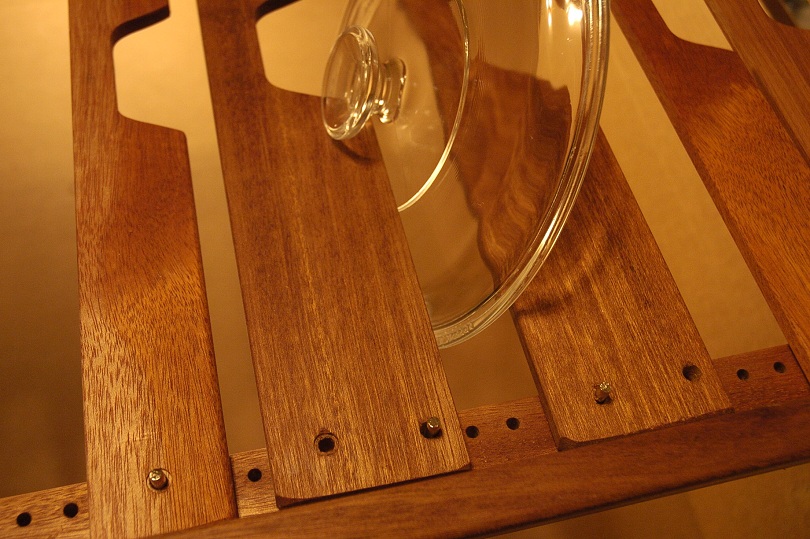
about 1/4″, you’ll be able to insert the pins in the LEFT side of the slat.
NOW THE LID WILL FIT.
Now go ahead and position your lids and use the pins to
temporarily secure the slats. When you’re happy with
how all the lids fit, replace the pins with screws.
THE CLOUD LIFT pot rack comes with
7 regular and 2 wide slats.